
Avi began our evening by discussing the creative process, offering her process as an example and in the spirit of Hanukkah breaking it into eight steps. Her process began with vision, but vision wasn't enough to move her forward. For that she needed hope, an emotion towards her idea that caused her to want to act. After vision and hope came the third step- diving in. She then moves into excitement which of course is followed by suspicion or perhaps dismay. It just isn't working right, maybe it feels false. If she's fortunate she then moves to clarity, finding what works and expanding on it. Then comes the fun state, Obsession! This is the favorite stage of many artists when you can't wait to get to the studio to work. Finally the last stage of resolution when you know it is done.
So expanding on the idea of Hanukkah I found myself wondering which step represented the shamash which gets it moving and settled on "hope" which ignites vision. Now that I added the shamash and promoted "hope", I have one more candle to assign and that is the truly last step, kvelling -enjoying and savoring our creation. The human equivalent of "God saw everything that he had made, and indeed it was very good."
Avi then invited us to think about our own process, noting that it may differ by medium. Within small groups we discussed our individual process. Painters had a somewhat different process than photographers. Photography is often more spontaneous in capturing the moment while painters spoke of painting out images and trying to step back to an earlier stage, knowing where they were going only after they went too far. Some spoke of sacrificing something to give a painting spirit and in fact many of us seemed to build up our image by painting over our false starts. I do find that when I get comfortable with the idea of destroying my painting, I often move it forward. Destruction and creation are flip sides of the same coin and perhaps one feeds the other, making room for new growth.
The second part of our session involved a workshop led by Bonnie Cutts, a Golden paint representative and a working artist.
In the spirit of the evening, Bonnie began her talk with her own menorah story. She recalled a two story menorah in Oxford, England where she watched a rabbi light the menorah via a cherry picker. Bonnie packed what is normally a much lengthier talk into an hour and we concluded that a more extensive working session in the future would be beneficial.
Our ultimate destination was digital mixed media, so she began with an intro to the different types of materials we would use in conjunction with them. As she lavishly poured paints onto paper to illustrate, she passed them around for us to feel
 the ease or resistance of the paint.
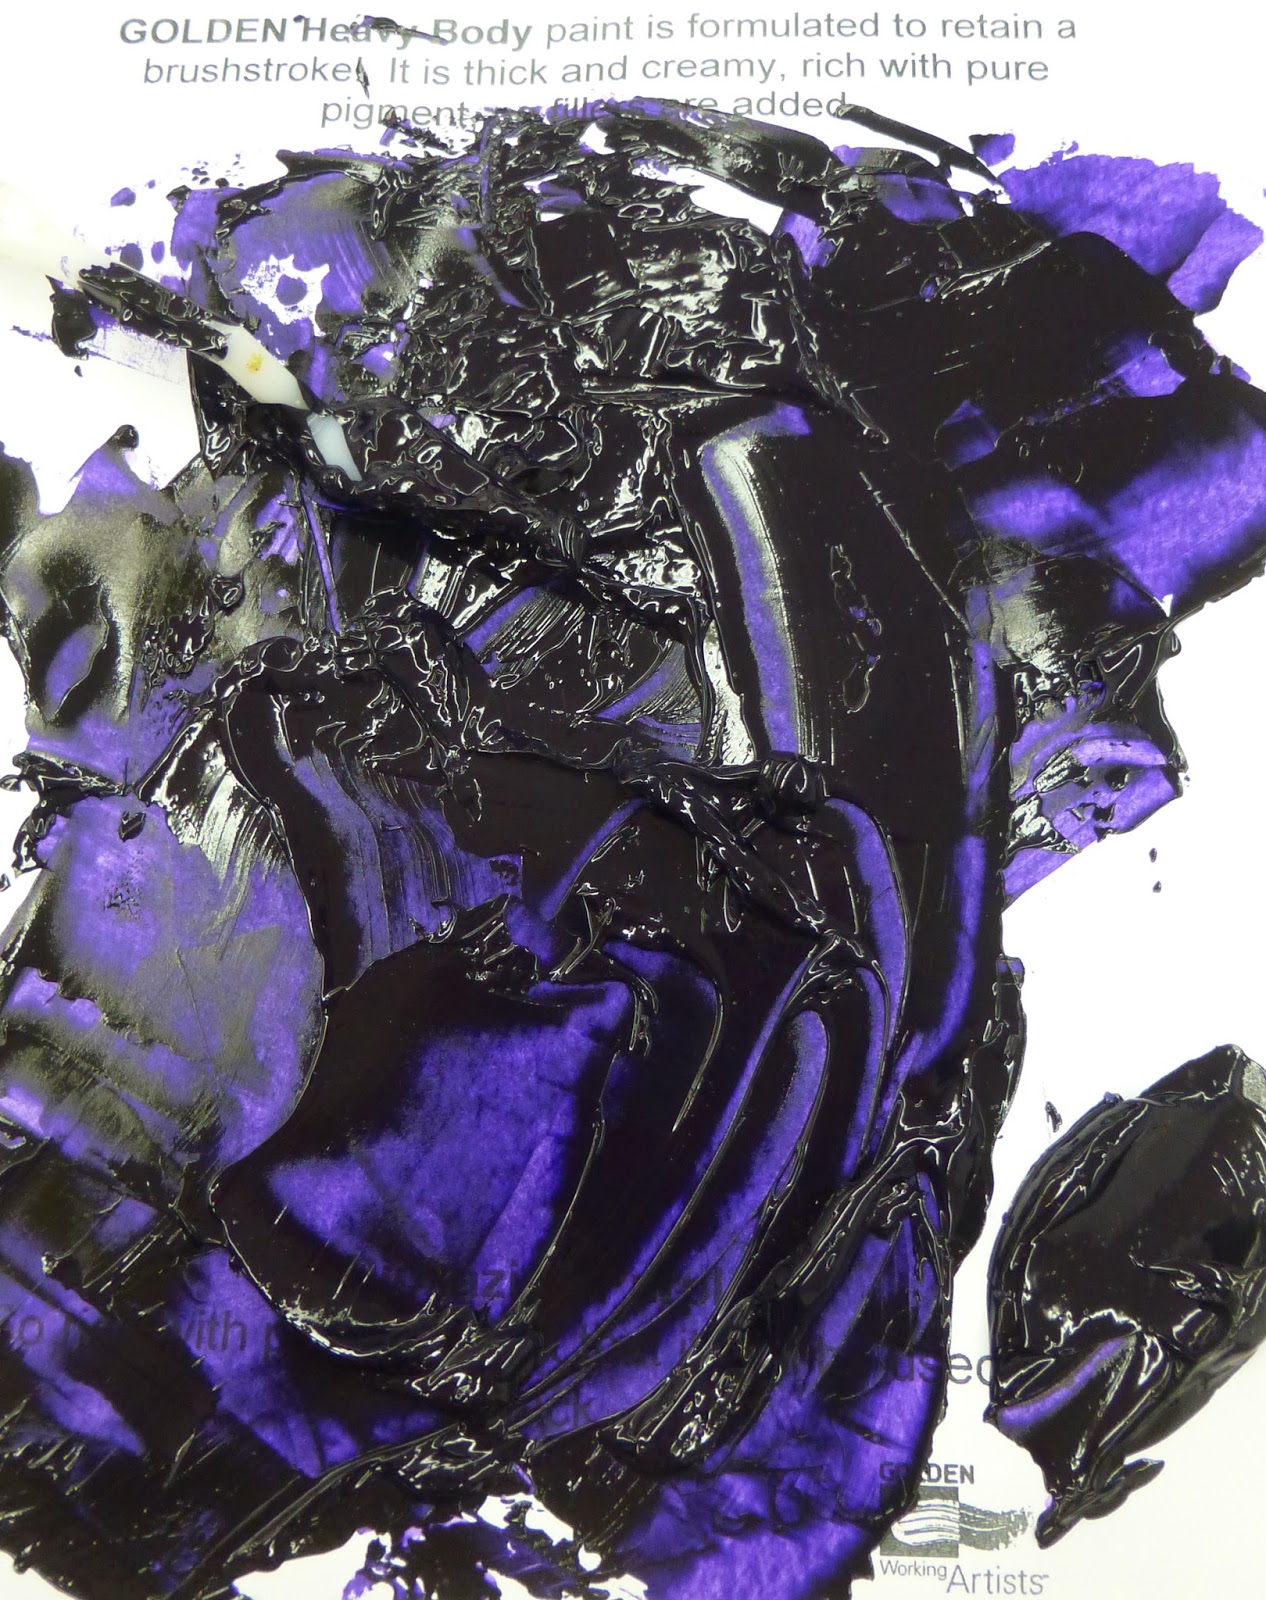 We began with binders. Oil paint uses linseed oil, watercolor uses gum Arabic and acrylic uses polymer medium as binder. It is the binder that allows us to make a brush stroke. Paint dries darker with acrylic because the white evaporates out of it. Some colors have more binder and less pigment which makes them more transparent. Gels can also be used to create glazes and texture. You can paint over gel, mix paint into gel or put gel over paint.
Fugitive pigments fade and they are no longer made. Instead you will find hues that are made in a lab. Fugitive colors include alizarin crimson and manganese blue.
Heavy bodied colors include yellow ochre and nickel azo yellow. These are more like oils.
 Bonnie also talked about open acrylic colors which dry more slowly. I've made use of them and like them as you can work with them longer. It extends the use of acrylics giving some of the benefits of oils.
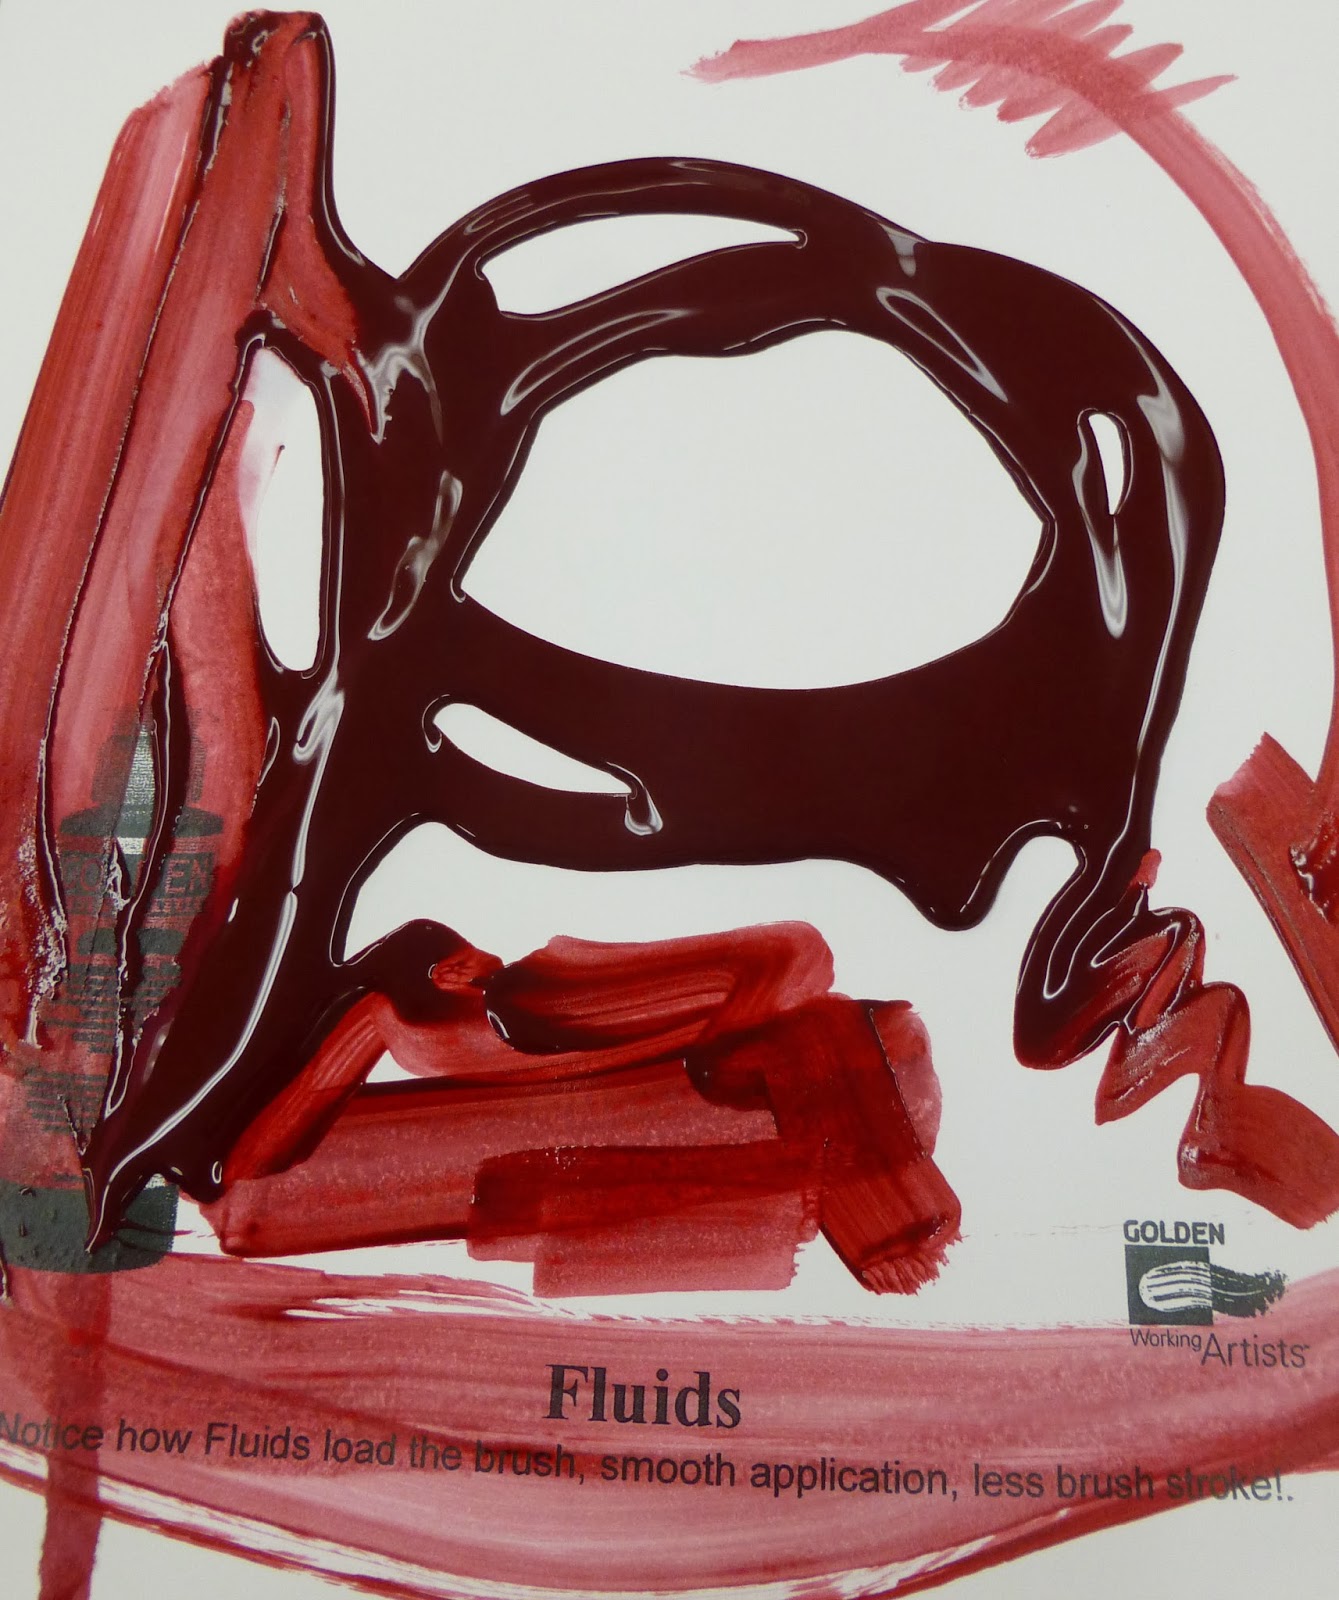
Fluids are still heavily pigmented, in fact they are the same heavily pigmented paint as Heavy Body, just formulated to be 10 x thinner. You can mix them 10 parts water to 1 part paint for a watercolor like application.
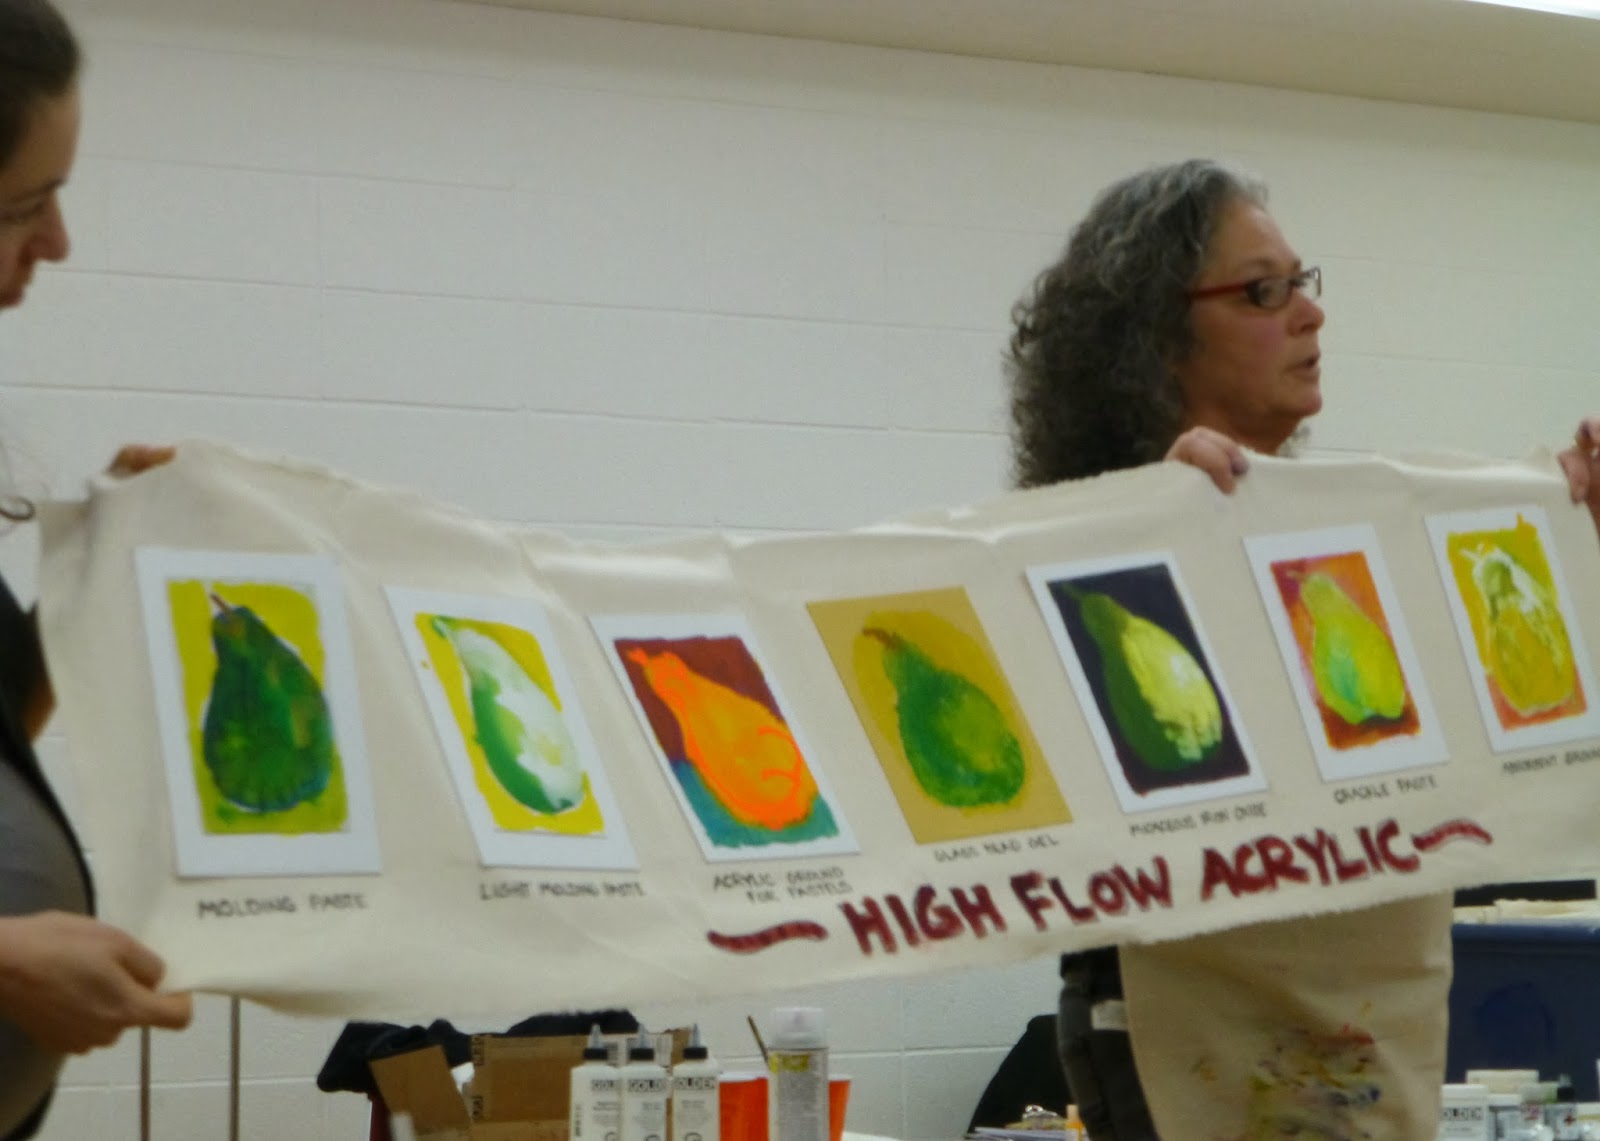
High flow acrylic has been on the market for six months. The paint looks different depending on the ground and is very fluid.
She also showed us the Golden Interference acrylic which is iridescent with a bit of flip in it between opalescent color and its complement. It has reflective properties and interacts with light. Over white or light colored surfaces the Interference color is less obvious, but the flip effect is more obvious. The reverse is true over black or dark surfaces. Interference acrylics are 87% gel, 12% interference and 1% color.
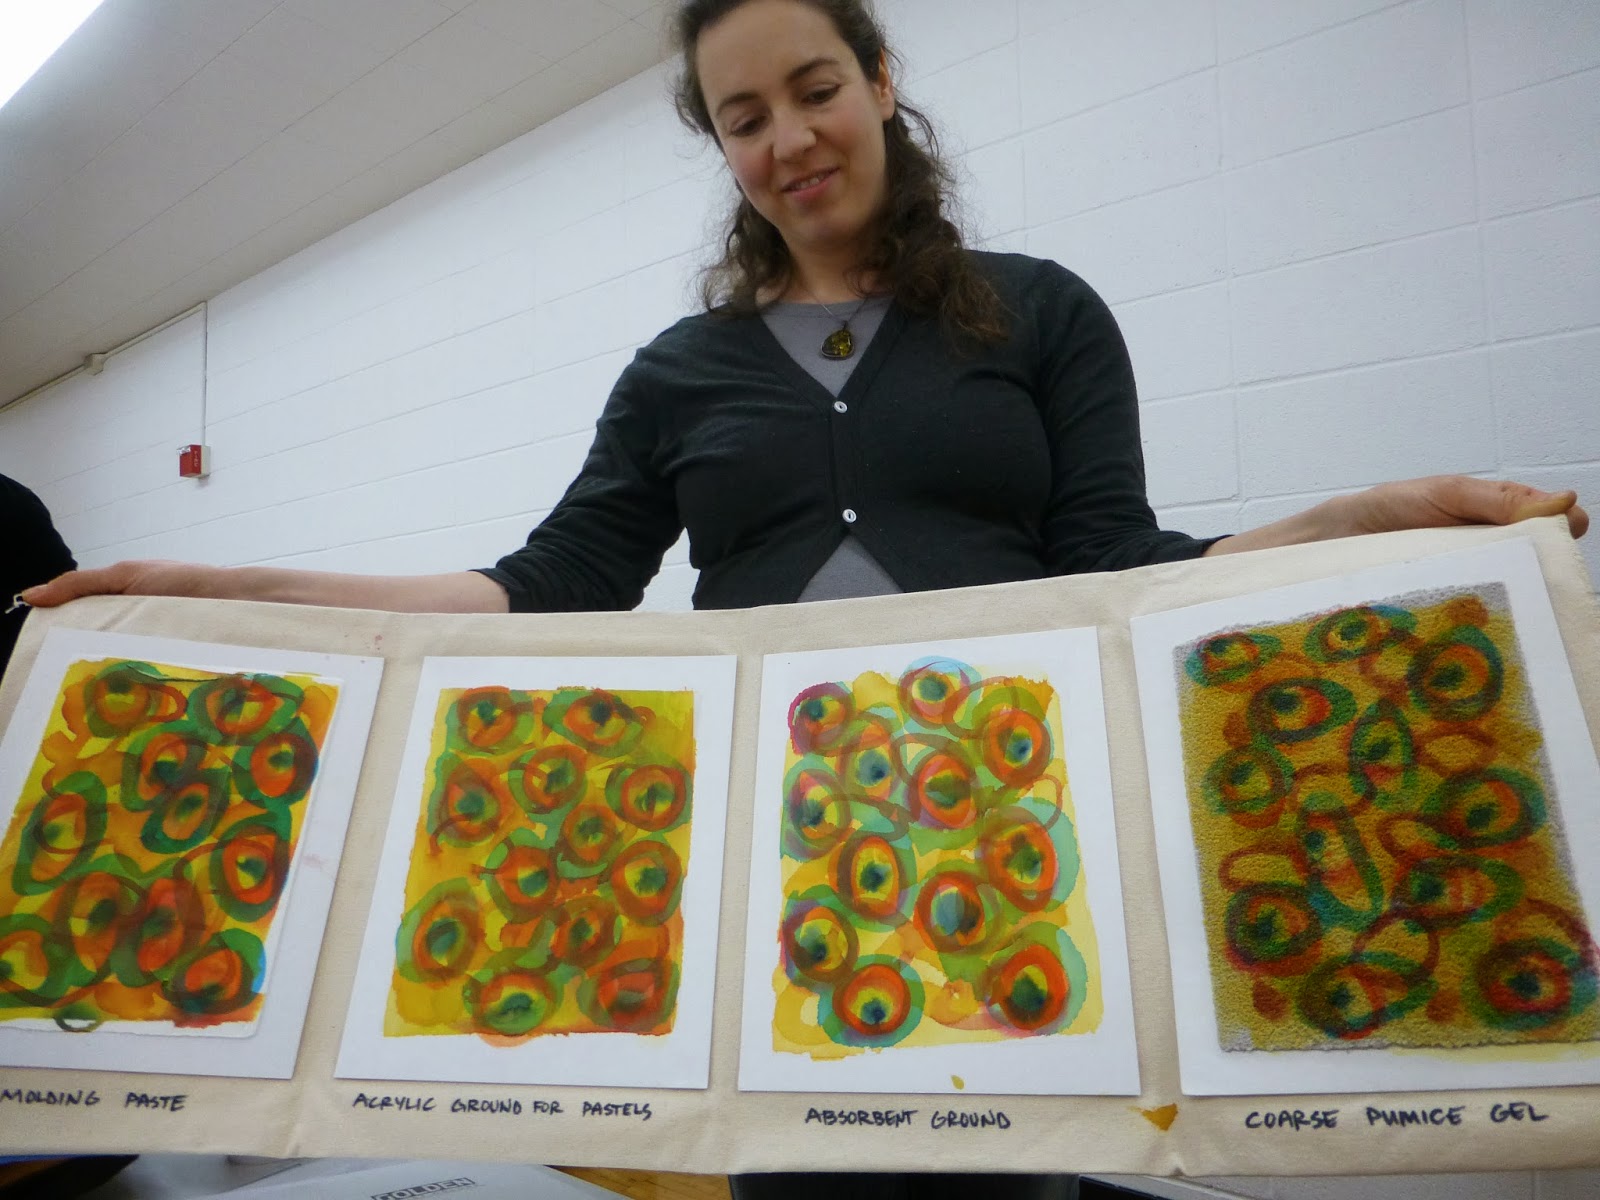 Bonnie then turned her attention to grounds, the surface on which we paint. You can use an absorbent ground like watercolor paper. When working with a ground for pastels you can tint the surface.. Golden has a number of different grounds which Bonnie introduced. They can all be used in lieu of gesso which is the most common ground.
You
can make a skin with any of the grounds and then use them to print on
with an inkjet printer. You will need to apply 2 coats of a Golden's
Digital Ground for Non-porous Surfaces, allowing the first coat to dry
before applying the second coat.
You
can pour the ground on a silicon cutting board, freezer paper, heavy
plastic or glass. She cautioned us against using plexiglass as it will
stick to it. There are five factors that affect the speed of drying;
temperature, air flow, humidity, how thickly applied and what you apply
it to.
When dry you peel it up and tape it to a carrier sheet to feed it into a flat bed printer with the tape side down. Bonnie used painter's tape and
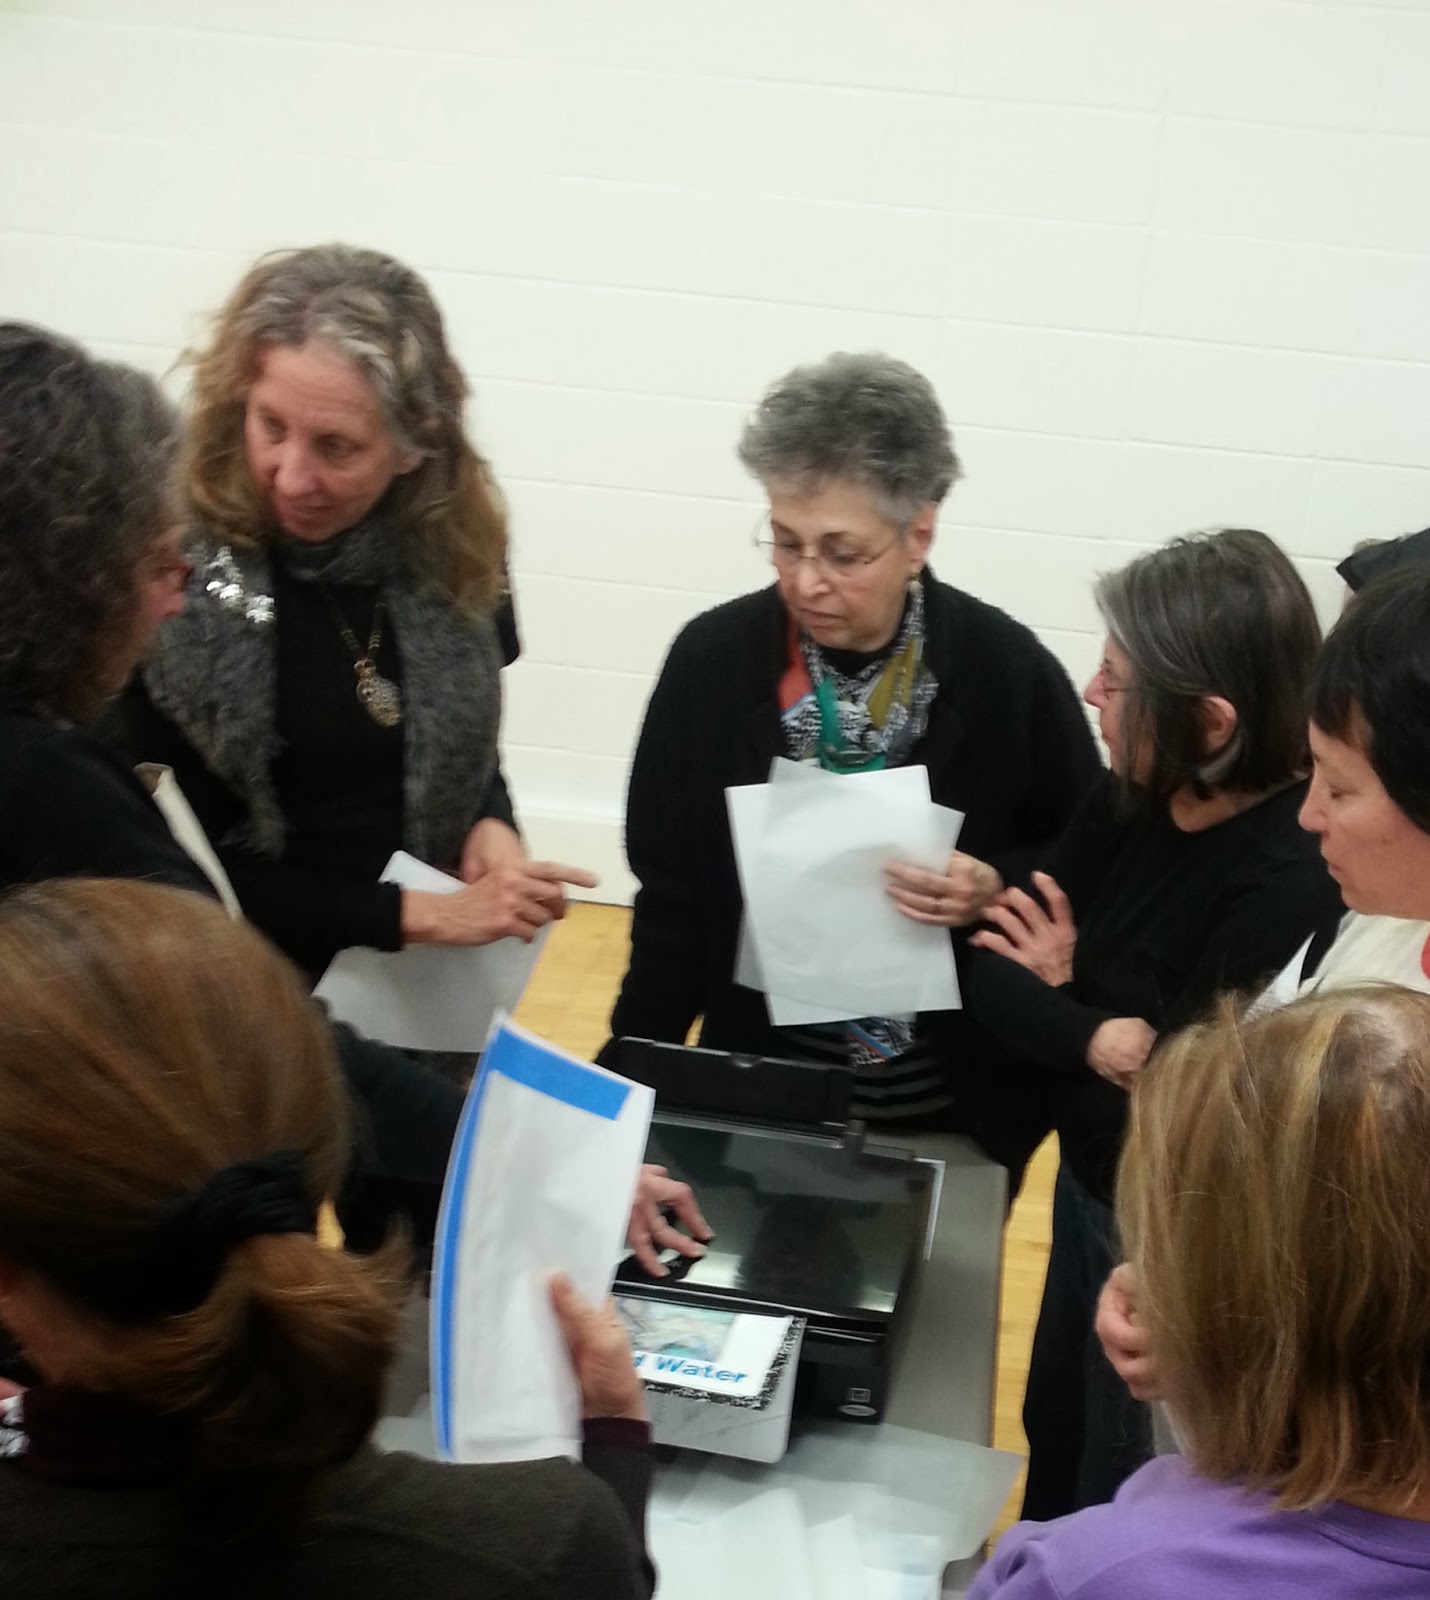 taped the bottom and one side. She then provided us with three options for skins that she had already made. One was on cheesecloth so had a very rough texture, one was an acrylic ground for pastels and was opaque and one was a soft gel that was quite transparent. We had been asked to bring a high contrast 8x10 photo which she then placed face down in her Epson NX415 printer as we crowded round.
Bonnie began by feeding the feeder sheet with the skin into the feeder tray with the tape at the bottom, set it at 75% to fit the image on and magically our image appeared on the ground. You can see how she
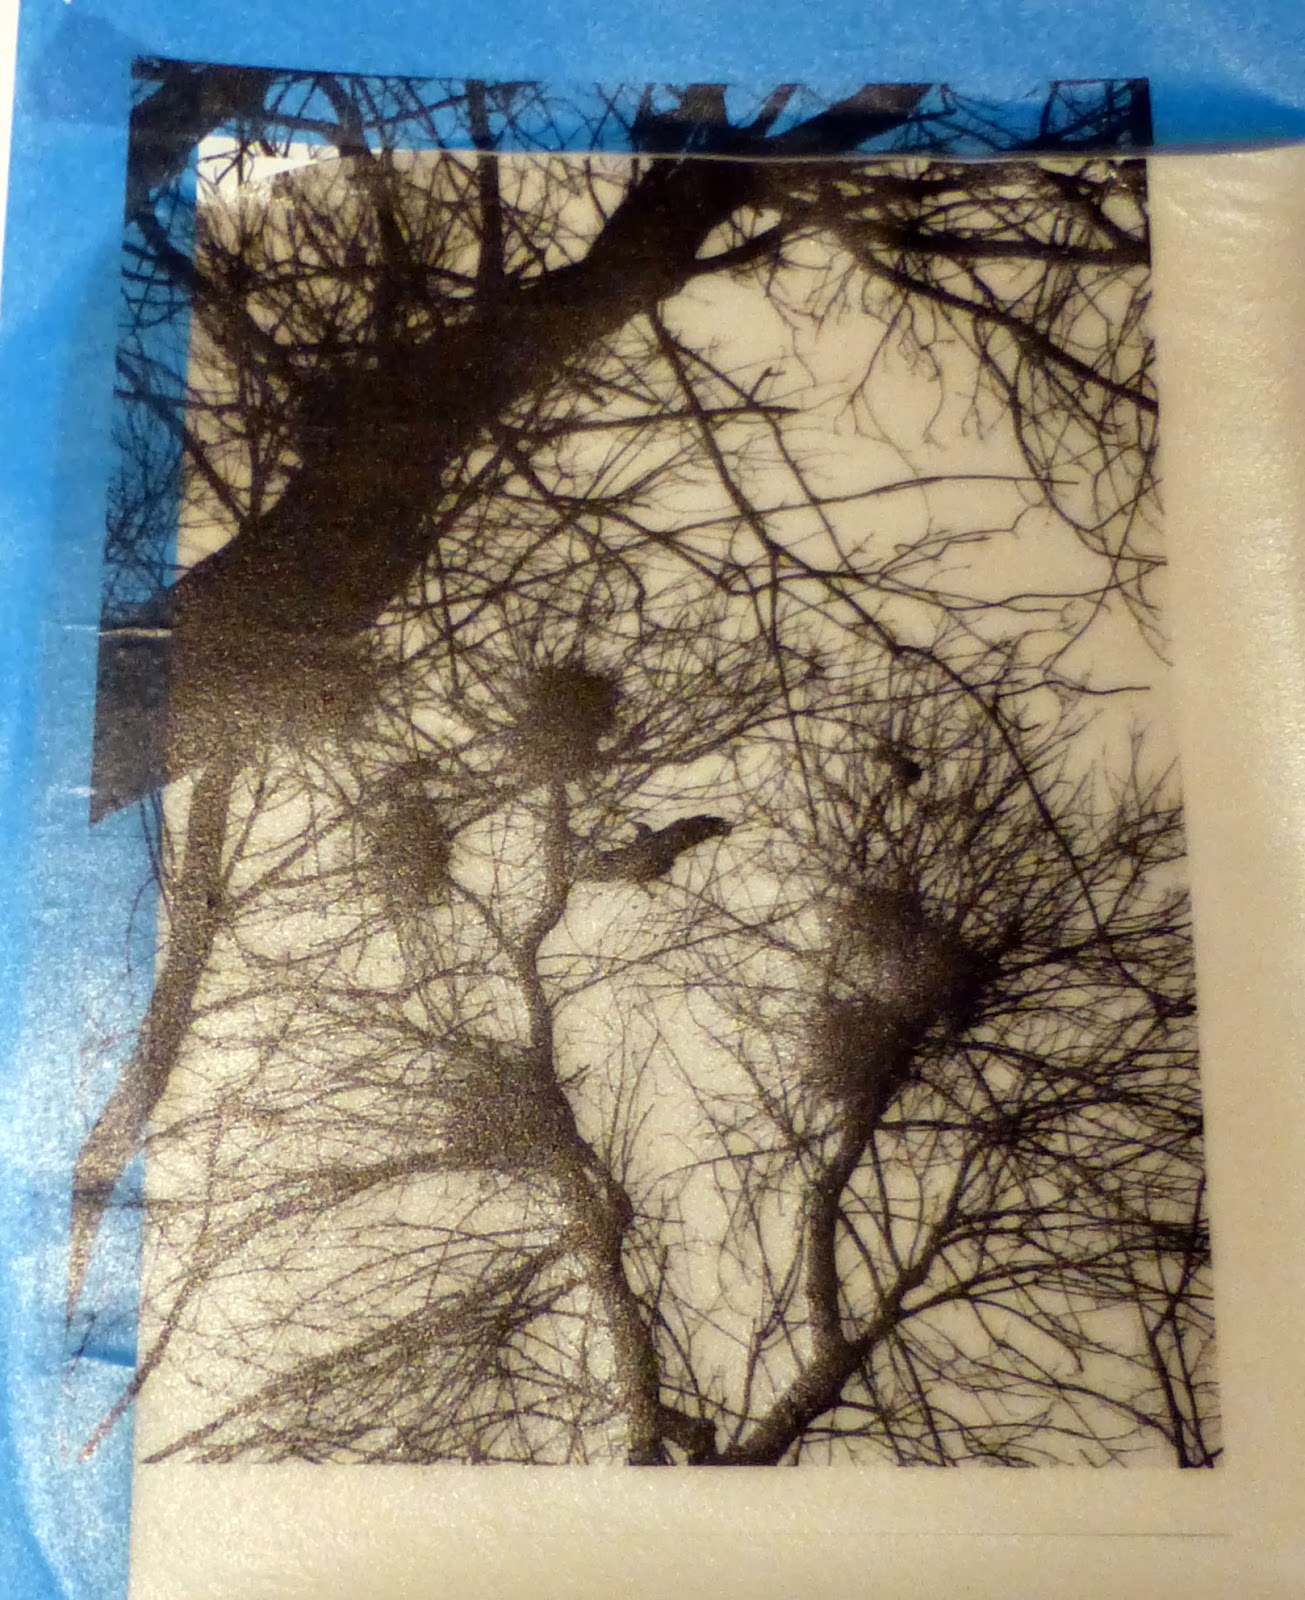 taped it and what it looked like when it emerged in the image below. You can then paint behind the image or on top of it to create various effects. Before applying liquid to the image you will first want to fix it with an archival spray fixative. As the fumes are not good to inhale you may prefer to use a gel top coat, but must apply it very carefully so as not to move the ink. For more information consult the Golden site where they provide considerable detail on how to use digital products in your artwork.
To view information on lab artists and lab discussion links and handouts, please go to the Jewish Artists' Laboratory website.
*The Jewish Artists’ Laboratory is an arts initiative through the Sabes Jewish Community Center featuring 25 artists exploring the theme of Light through study and art making. The project is funded through The Covenant Foundation and similar projects are being done in both Milwaukee and Madison. Artists explore how the theme of Light is relevant to Jews and non-Jews, to religious and non-religious, to the community and to the individual, to the artist and the non-artist.
No comments:
Post a Comment